Getting started: import your music
On first launch, RustMusic is empty. In three steps you create a library, give it your music folders, and the import runs on its own.
Up to date for version 0.4.3
Documentation
First launch
No account, no wizard: RustMusic opens straight away, with a profile created automatically. The home screen says “Welcome” and the sidebar shows “No library”.
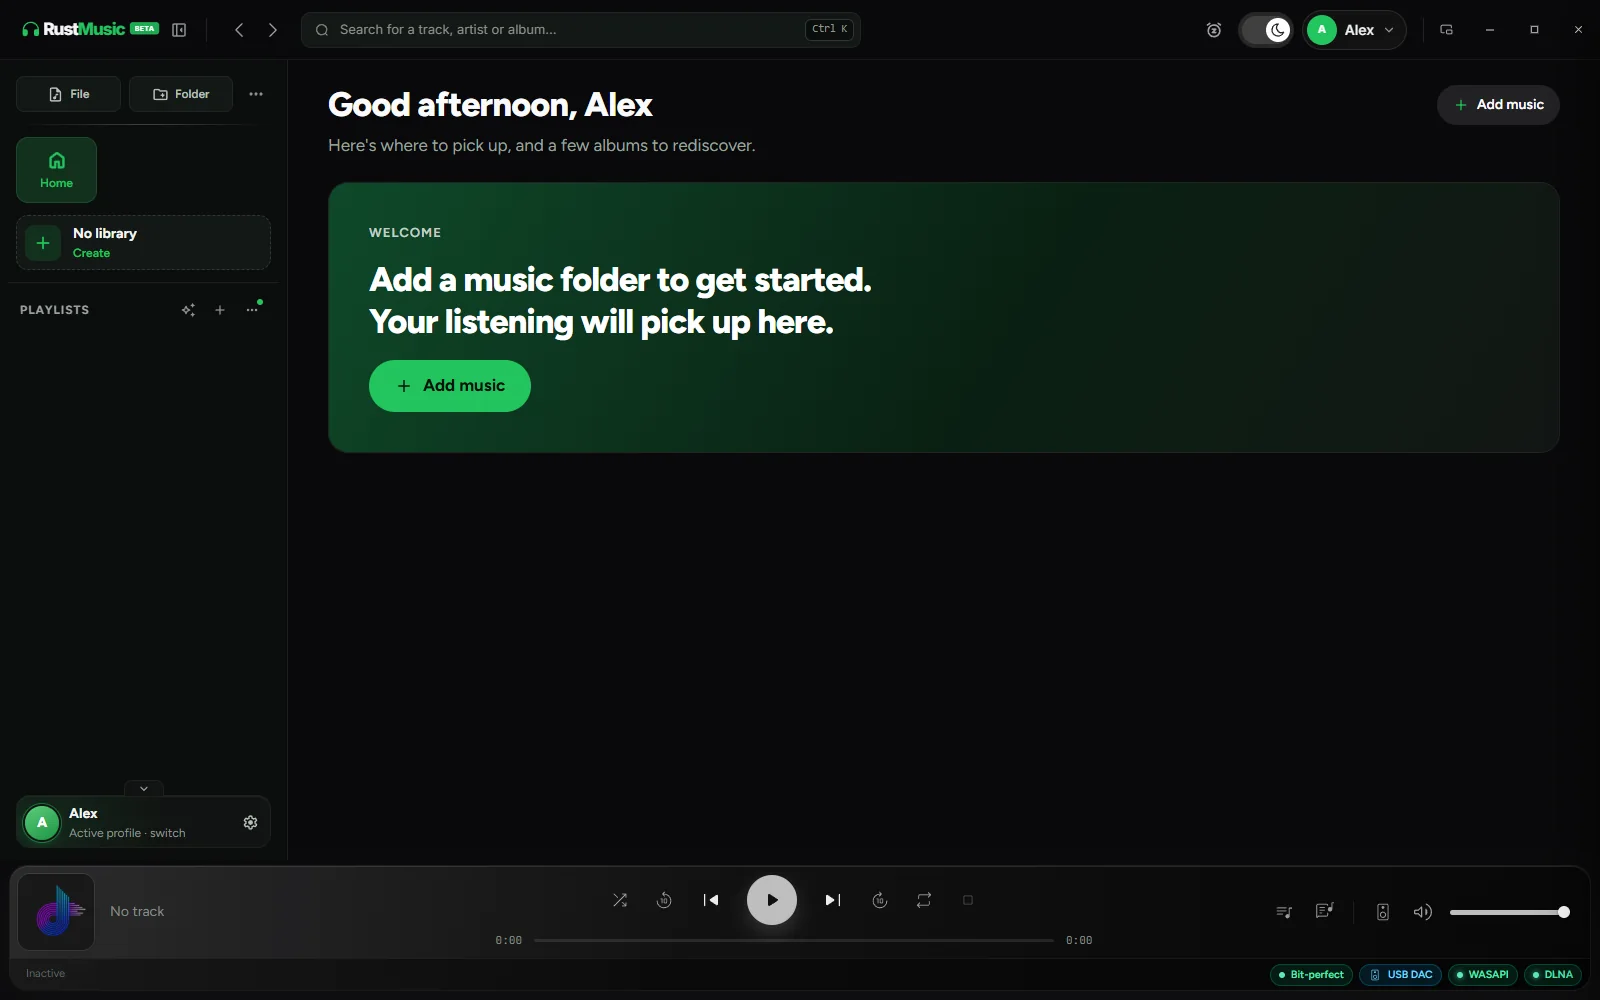
On the home screen, “Import my music” opens the import page: name your library, then choose a folder or files. You can also listen to a folder without importing it.
Create a library
- 1
Click “Create”
In the sidebar, under “No library”.
- 2
Give it a name
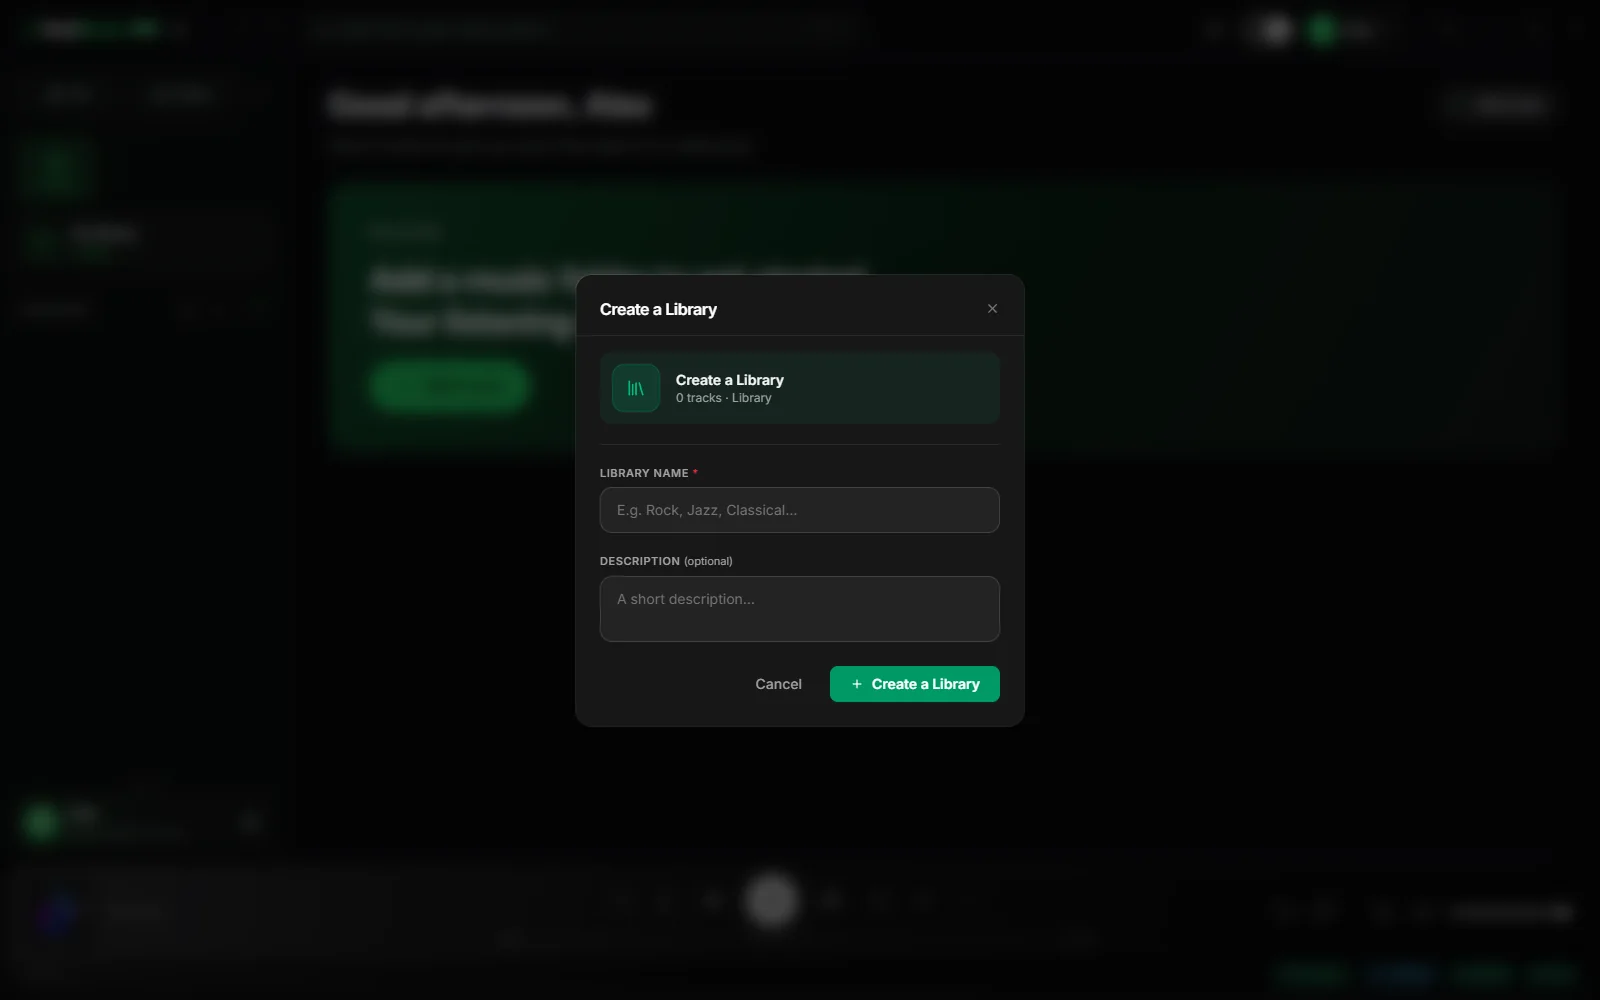
For example “Music”, “Hi-Res” or “Digitized vinyl”. The description is optional.
- 3
Confirm
Click “Create a Library”. It appears in the sidebar, still empty.
Add your music folders
A library groups one or more folders. Click “Add a folder” at the top of the library, choose the folder that holds your music, then repeat for each extra folder.
Follow the import in “Synced folders”: file discovery, progress and the current file, including on a NAS. You can stop an import or rescan; tracks already imported are kept and the summary lists the tracks, albums and artists added. Existing tags and covers are used.
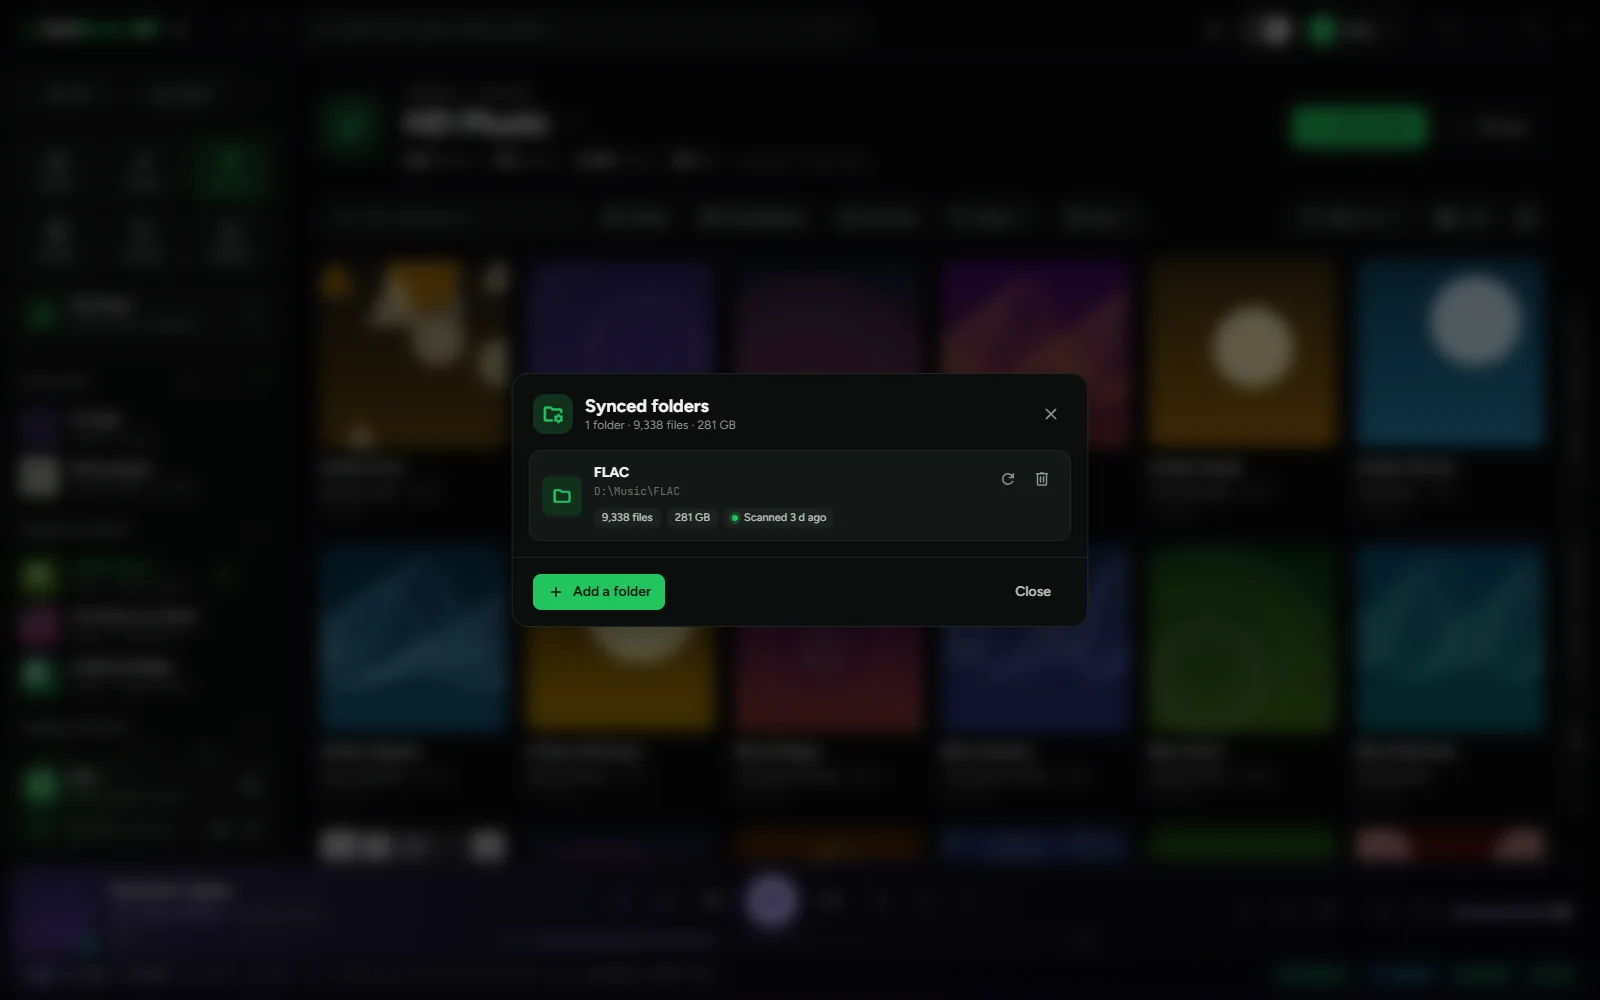
You’ll find the list under “Synced folders”, in the sidebar. For each folder: “Rescan this folder” or “Remove from the library”. Removing a folder never deletes your files.
External drives and NAS
An external drive or a network share is added like any other folder. RustMusic recognizes network paths (\\server\share, mapped network drives, SMB shares mounted on macOS and Linux) and loads each track into memory before playing it, to avoid dropouts caused by the network.
The drive or NAS must be reachable during import and playback. If you connect it later, the library stays in place: a rescan brings everything back.
Keeping the library up to date
RustMusic doesn’t watch your folders continuously. After adding or removing files, click “Rescan”: only new or changed files are read, the rest is skipped.
A rescan removes files that have disappeared from the disk, and follows files renamed or moved within the same library folder: it recognizes them by their size, date and tags. No duplicates, and the rating, play count, playlists and likes follow the file. To be safe, nothing is removed if the scan is canceled, if a folder suddenly appears completely empty, or if it sits under an unreadable subfolder.
To automate this, turn on “Rescan on launch” in Settings → General.
Several libraries
You can create as many libraries as you like, for example one for your hi-res files and one for your MP3s. Switch between them with “Switch library” in the sidebar, and choose which one opens on startup with “Set as default library”.
In the library switcher, the ⋯ button on each row opens the same menu as “Manage”: rescan, folders, covers, import, rename the library or set it as default, without having to open it.
“Delete library” removes the library from RustMusic: your files are not erased.
Profiles
Each profile has its own libraries, playlists and favorites: handy when several people share the computer. Open the profile menu at the top right, then “Change profile”: the “Who’s listening?” window lets you pick one or add one, with a name and a color.
Each profile can have its own picture: in the profile window, “Choose an image” takes a photo or an image (JPG, PNG, WebP, GIF or BMP), automatically cropped to a square, in place of the initial. “Remove” goes back to the initial. The image is applied when the profile is saved.
Further reading
Question not answered?
Open an issue on GitHub: every report helps improve RustMusic and this documentation.